Step 1. Download and Run

  1. Download the program from the official site: DNS Jumper
  2. The archive does not require installation — simply extract it and run DnsJumper.exe as Administrator.

Step 2. Flush the DNS Cache

  1. In the main window, click Flush DNS.
  2. The DNS cache in Windows will be cleared.
  3. A confirmation message will appear.

Step 3. Find the Fastest DNS

  1. Click Fastest DNS in the main menu.
  2. Press Start DNS Test to begin scanning.
  3. Wait a few seconds while the tool checks different servers.
  4. Once the test is finished, the fastest DNS will appear at the top.
  5. Click Apply DNS Server to set it as your default.

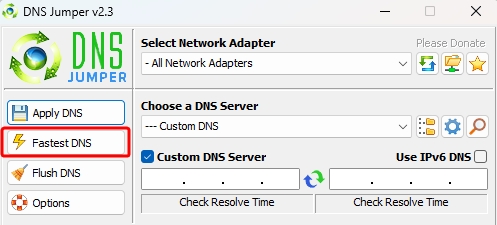
The system will now use the DNS server with the lowest latency.

Choose a DNS Manually

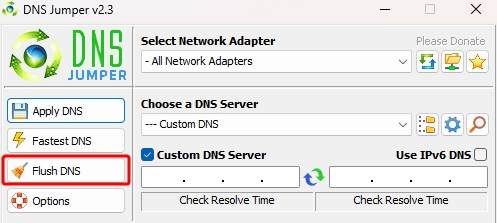
If you prefer a specific DNS provider instead of the fastest one, you can set it manually:

  1. Open the dropdown menu Choose a DNS Server.
  2. Select one from the list, for example:
    • Google DNS – 8.8.8.8 / 8.8.4.4
    • Cloudflare DNS — 1.1.1.1 / 1.0.0.1
    • Quad9 — 9.9.9.9 / 149.112.112.112
  3. Click Apply DNS Server.
0 comments
Inline Feedbacks
View all comments